
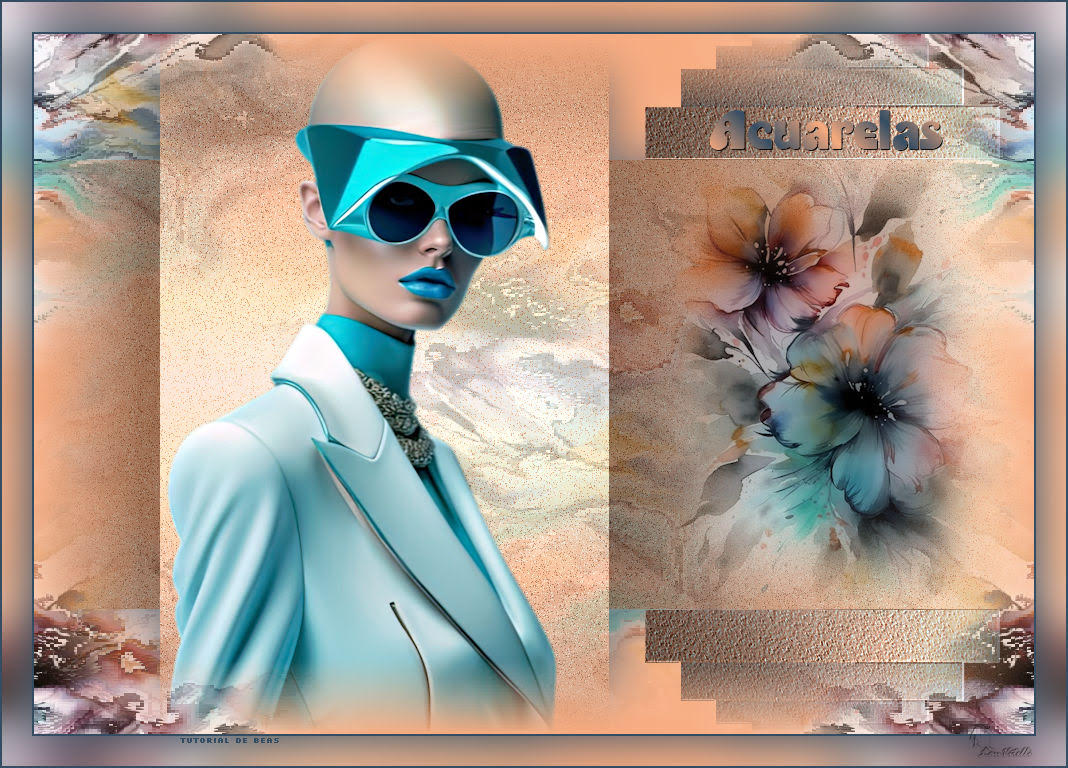
![]()
Este tutorial é de BeaSol a quem
agradeço por me deixar traduzir seus tutoriais.
*
Original aqui

*
Tubes

*
Material

*
Plugins
Unlimited 2.0/ Distortion Filters/Smelter 2
VM Natural/Weave Distortion
MuRa's Meister/Copies
DCLayer/DCmergency
ROTEIRO
1.
Cores usadas na versão original:

Cor 1: #ad9040
Cor 2: #492263
Abra uma nova imagem transparente com 1000x700px
Pinte com a cor 1
2.
Selections / Select All
Copie o tube [ flores-441-beas-misted] e cole na seleção
Select none
3.
Effects / plugins / Unlimited 2 / distortion Filters / smelter 2

Effects / Image Effects /
Seamless Tiling

Adicione nova layer
4.
Pinte a layer com a cor 1
Adjus t/ Add/Remove Noise / Add Noise

Effects / plugins / Unlimited 2
/ VM Natural / Weave Distortion

5.
Layers / Properties / Opacity: 71%
Ative a Selections Tool / Custom Selection e configure:

Selections / Promote selection
to layer
6.
Select none
Effects / Plugins / Mura's meister / Copies - Cor 2

Ative a Selections Tool / Custom
Selection e configure - igual ao anterior
7.
Pressione Delete no teclado
Select none
Layers / Duplicate
8.
Image / Mirror / Mirror Vertical
Merge down
Effects / user Defined Filter / Emboss 3

9.
Ative a layer Raster 2
Drop shadow: 0 0 100 70 preto
Ative a layer superior - Promoted Selection
10.
Drop shadow: 0 0 100 70 preto
Merge down
Copie o tube de flor e cole como nova layer
11.
Image / Resize: 70% - all layers desmarcado
Posicione à direita,dentro do quadro conforme o modelo
Copie o tube personagem [woman-446-beas-tube] e cole como nova layer
12.
Image / Resize: 60% - all layers desmarcado
Posicione conforme o modelo ou como desejar
Layers / Duplicate
13.
Ative a layer raster 4
Adjust / Blur / Gaussian blur: 30

Layers / Properties / blend mode:
Multiply
14.
Ative a layer Raster 1
Layers / Duplicate
Layers / Arrange Bring to top
15.
Effects / Reflection Effects / Rotating Mirror - default

Effects / Plugins / DCLayers /
DCEmergency

Prepare um Gradiente Linear

16.
Abra o tube [texto] (ele estará selecionado)
Pinte a seleção com o gradiente acima
Select none
17.
Copie o texto e cole no seu trabalho
Ative a Pick tool e configure: X=675,00 / Y=76,00

Edit / copy special / Copy
Merged (ficará na memória)
18.
Image / Add borders / 2px / cor 2
Selections / Select All
Image / Add borders / 30px / cor ffffff
19.
Selections / Invert
Cole na seleção a imagem copiada acima
Adjust / Blur / Gaussian Blur: 20

20.
Selections / Invert
Drop shadow: 0 0 100 70 preto
select none
21.
Image / Add borders / 2px / cor 2
Image / Resize: width=1000px
Coloque sua assinatura
Merge All
Salve como jpeg
*


Obrigada Natália

Obrigada Silvie

Obrigada Estela
Obrigada Lau Vitelli


Sem comentários:
Enviar um comentário