
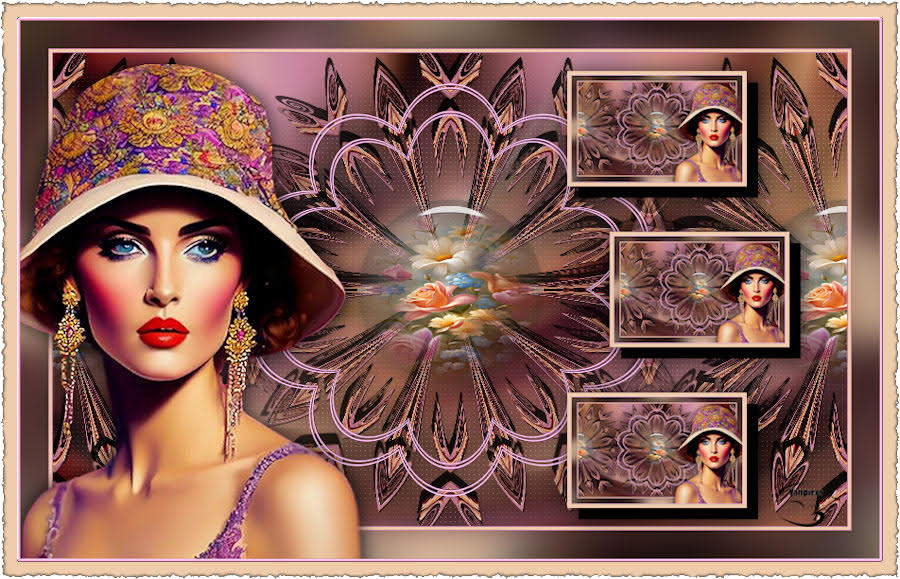
![]()
This tutorial is by Manyi, whom I thank for letting me translate his tutorials.
*
Original here

*
Tubes

*
Material


*
Plugins
Mehdi-Sorting Tiles
AP Lines-Silverlining
Alien Skin-Eyecandy 5 : Impact-Glass
Graphics Plus-Cross Shadow
Alien Skyn Xenofex2-Burnt Edges
You can find these plugins on the websites of:
SCRIPT
1.
Original colors: Foreground: #09455f / Background: #ffffff

2.
Open file [2024-Trixi PSPIMAGE] / Duplicate (shift+d) / close original
3.
Paint this image to the foreground color
4.
Selections / Select all
5.
Copy the [Trixi lánykám] tube and paste it into the selection
6.
Select none
7.
Effects / Image effects / Seamless Tiling
(color - bid - 0 0 50 50)

8.
Effects / plug-ins / Mehdi / Sorting Tiles
{150-300 200 crossed}

9.
Layers / Duplicate
10.
Activate the selection tool and ruler (View/Rulers)
11.
Drag the image from left to right to a height of 150px

12.
Drag the image from right to left to a height of 250px
13.
Effects / distortion Effects / curlicues
{5 5 x 100 100 100 x}

14.
Effects / Distortion Effects / Warp
{-10 0 80 80}

15.
Layers / Duplicate
16.
Image / Mirror / Horizontal mirror (Mirror)
17.
Merge down
18.
Layers / Duplicate
19.
Image / Resize: 65% - all layers unchecked
20.
Image / Free Rotate [left/90}

21.
Merge down
22.
Activate a top layer
23.
Effects / Reflection effects / Kaleidoscope
{13 42 270 -17 10 0 95 reflect}

24.
Activate the background layer
25.
Adjust / Blur / Radial Blur
{twirl 57 20 x -100 -30 2}

26.
Activate the top layer
27.
Drop Shadow: 12 2 85 0 black - SHADOW ON NEW LAYER MARKED

28.
Activate the top layer again
29.
Repeat the Drop Shadow with V and negative H
30.
Merge Down (joining the 2 shadows: Copy of Raster 1 Shadow 1 and Copy of Raster
2 Shadow 2)
31.
Activate the middle layer
32.
Adjust / Blur / Gaussian Blur=20

33.
Effects / Plug-ins / AP[Lines] / SilverLining
{dotty grid 5 -1 10 255 255 255}

34.
Activate a top layer
35.
Merge down
36.
Add a new layer
37.
Selections / Load alpha channel selection / Selection #1

38.
Copy the flower tube [virágom] and paste it into the selection
39.
Adjust / Sharpen / Sharpen More
40.
Effects / plugins / Eye Candy 5: Impact / Glass
{22.00 60.00 0 inside br 0 40 0 25 15 30.00 0}

41.
Select none
42.
Merge down
43.
Effects / Image effects / Seamless Tiling
{cor ho 0 0 50 50}

44.
Drop Shadow: 1 1 85 0 black
45.
Image / Add borders / 1px / white
Image / Add borders / 3px / #09455f
Image / Add borders / 1px / white
Selections / Select all
Image / Add borders / 50px / white
46.
Effects / Image effects / Seamless Tiling
(color bid 0 0 50 50)
48.
Selections / Invert
49.
Adjust / Blur / Gaussian Blur=20
50.
Effects / plug-ins / Graphic Plus / Cross Shadow
{50,50,...50,50}

51.
Selections / Select all
52.
Selections / Modify / Contract=20

53.
Selections / Modify / Select selection borders
{out 3 x}

54.
Add a new layer
55.
Paint this layer to the foreground color
56.
Effects / 3D effects / Inner bevel
{bv2 10 0 2 3 5 br 315 63 35}

57.
Select none
58.
Layers / duplicate
59.
Effects / Reflection effects / Kaleidoscope
{13 42 270 -17 10 0 95 reflect}
60.
Layers / Duplicate
61.
Image / Resize: 98% - all layers unchecked
62.
Copy the tube character [Trixi lánykám] and paste it as a new layer
63.
Position the left as shown in the template
64.
Adjust / Sharpen / Sharpen
65.
Drop Shadow of your choice
66.
Activate layer Raster 1(Frame)
Layers / Arrange / Bring to top
67.
Select the border with the Magic Wand according to the printout

68.
Paint with the foreground color
69.
Select none
70.
Image / Add borders / 1px / white
71.
Layers / duplicate
72.
Image / Resize: 20% all layers unchecked
73.
Image / Mirror / Horizontal mirror
74.
Activate the Pick tool and set: X=600 / Y=75

75.
Layers / Duplicate
76.
Activate the Pick Tool and configure: X=655 / Y=415

77.
Layers / Duplicate
78.
Activate the Pick Tool and configure: X=645 / Y=245

79.
Merge Down - 2 times joining the 3 frames
80.
Adjust / Sharpen / Sharpen
81.
Drop Shadow: 12 12 100 0 black
Drop Shadow: 0 0 60 30 black
82.
Merge visible
83.
Effects / Plug-ins / Xenofex 2 / Burnt Edges
{0.00 5.58 1 br x-make...75 4842}

84.
Place signatures
Merge VISIBLE
Save as PNG
*


Obrigada baby

Obrigada Baby

Obrigada Daela

Obrigada Denise D

Obrigada Denise D

Obrigada Enri

Obrigaa Irene

Obrigada Meluzyne
Obrigada Vanpires
Sem comentários:
Enviar um comentário